Before diving into cleaning your air fryer, it's a good idea to gather all the necessary supplies. Having everything within reach makes the process smoother and faster. Here’s what you’ll need to get started:
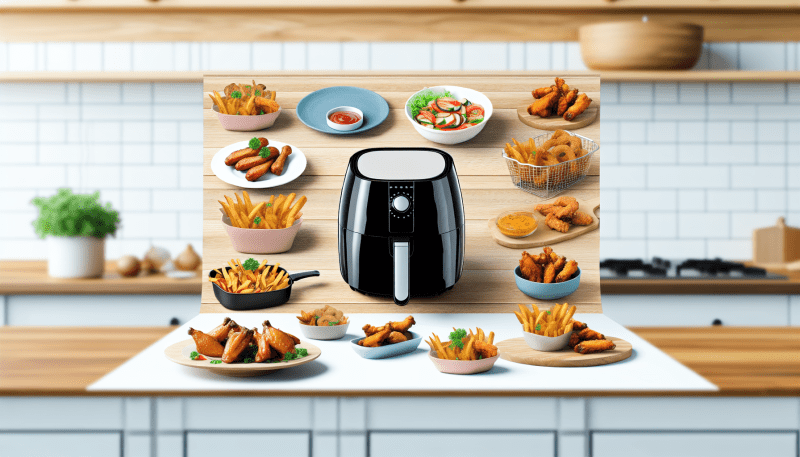
Once you have everything together, it’s time to roll up your sleeves and get down to business. Each of these items plays a role in effectively cleaning your air fryer without damaging it. Trust me, a clean air fryer can mean better-tasting food!
Disassemble Your Air Fryer Parts
Cleaning your air fryer can feel a bit daunting, but don't worry! Disassembling the parts is pretty straightforward. First, make sure your air fryer is unplugged and completely cool before you begin.
Start by removing the basket and pan from the main unit. Most air fryers have these parts easily detachable. Just give them a gentle pull, and they should come right off! Check if there's any leftover food stuck in the basket or the pan. If you see some stubborn bits, soak them in warm, soapy water for a few minutes to loosen everything up.
Next, look at the heating element. It's usually located at the top of the air fryer. If there are any crumbs or grease buildup, you can wipe it down with a damp cloth. Be careful not to use any harsh scrubbing tools here, as you don’t want to scratch the surface.
Finally, check your air fryer manual for any other removable parts that might need cleaning. Many models include pieces like the drip tray or the filter. Just give everything a good rinse, dry them thoroughly, and you’re all set to put your air fryer back together and get cooking again!
Wipe Down Surfaces Thoroughly
When it comes to cleaning your air fryer, giving those surfaces a good wipe down is a must. After each use, food bits and grease can easily accumulate, so tackling this right away will save you a lot of hassle later on. Trust me, it’s super simple!
Start by unplugging your air fryer and letting it cool down. A quick cooling period ensures no burns while you clean. Once it’s cool, grab a soft cloth or sponge and a little dish soap mixed with warm water. You want something mild to avoid scratching those surfaces.
As you wipe, pay special attention to the areas where food tends to stick. The basket, the tray, and any nooks and crannies can trap pesky debris. Don’t forget to clean the outside too! A quick wipe of the exterior keeps it looking nice and fresh.
If you encounter stubborn spots, just soak your cloth for a few minutes before wiping. This extra step often helps lift those tricky stains without too much elbow grease. And remember, drying everything properly after cleaning is key to preventing any unwanted odors.
Reassemble and Store Properly
Once you've given your air fryer a good clean, the next step is to reassemble and store it properly. This can help extend its life and keep it ready for your next cooking adventure.
After everything is clean and dry, start by putting the basket back into the fryer. Make sure it clicks back into place securely. It's easy to forget these little steps, but they really matter! A properly assembled air fryer is not only safer but also more efficient.
Now, when it comes to storage, find a nice, dry spot. Ideally, keep it in a cabinet or on a shelf where it won’t get bumped around. Just be sure it’s not crammed in too tight, as you want to avoid damaging the non-stick coating.
By taking these simple steps to reassemble and store your air fryer, you’ll ensure it’s ready to whip up your favorite meals whenever you are.